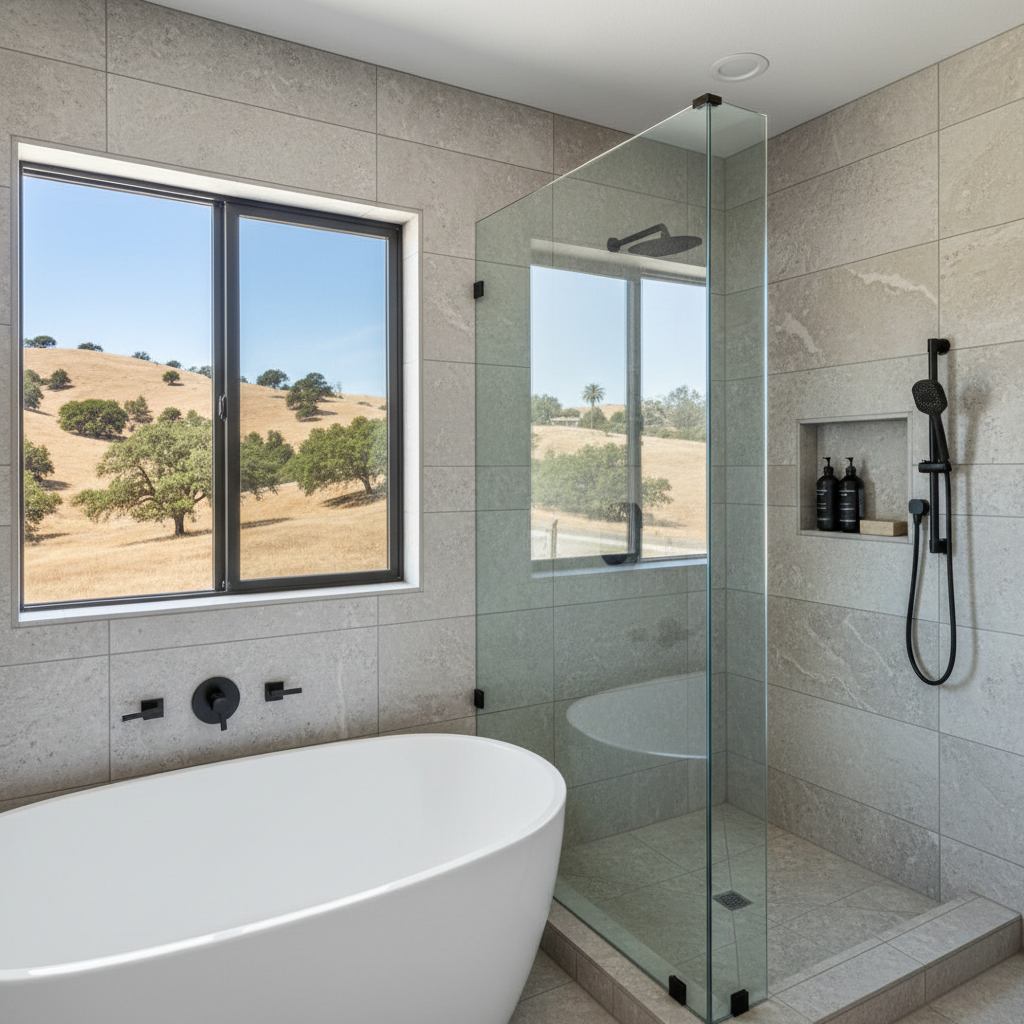
Tackling a new bathtub or shower install is a major project, and it is one of the best ways to transform how your bathroom looks and functions. Whether you are dealing with dated tile from the 1970s in an older South Azusa ranch home or updating a tract house near Rosedale, preparation is everything. This guide breaks down what actually happens before, during, and after the wrenches start turning, and where you should draw the line between DIY and calling in backup for Bathtub or Shower Installation in Azusa, CA.
Before You Start: Planning and Demo Realities
Before you swing a sledgehammer, you need a solid plan for your Bathroom Remodel in Azusa. Measure your space twice, then measure it again. If you are swapping an old standard tub for a walk-in shower, make sure your drain placement matches or that you are ready to reroute plumbing beneath the floor. Keep in mind that older homes around Azusa often hide galvanized pipes or unexpected framing quirks behind the drywall.
You can realistically handle the demolition yourself to save some cash. Ripping out old acrylic surrounds, pulling up worn-out flooring, and hauling drywall down to the studs takes sweat and muscle rather than specialized trade skills. Just remember to wear proper protective gear, especially if you are disturbing older materials during Bathroom Demolition in Azusa.
During the Build: Rough-In, Waterproofing, and Installation
Once the space is stripped down to raw studs, the real work begins. This is where most homeowners should step back and let professionals take over. Setting a brand-new tub level, soldering copper supply lines, and configuring pressure-balanced shower valves require precision. If a valve leaks inside the wall or a tub is not shimmed completely flat, you will end up with structural damage or a cracking acrylic base down the road.
Waterproofing is another important phase where mistakes cost thousands. We see plenty of DIY shower pan liners installed without proper slope or corners left unsealed. Azusa Bathroom Solutions makes sure moisture barriers and cement backer boards are completely airtight before any tile or surround goes up for Bathroom Renovation in Azusa. Azusa and the local climate can be forgiving in some ways, but bathroom humidity will find every single crack if the waterproofing fails.
After Installation: Finishing Touches and Curing Time
You can see the end of the project once the fixtures are bolted down and the panels are set. However, patience is very important right now. Resist the urge to use that brand-new shower immediately. You need to give silicone caulking and grout plenty of time to cure fully, usually at least 24 to 48 hours depending on the specific products used during Bathroom Installation in Azusa.
Use this waiting period to clean up construction dust and inspect your new trim kit. Once everything is cured, run a test cycle to check for hidden leaks around the drain assembly and behind the access panel. Taking these extra steps ensures your new bathroom stays dry, solid, and trouble-free for years to come. Azusa Bathroom Solutions provides reliable Bathroom Remodeling services for homes in Azusa, CA.